
I hope y’all had an awesome weekend! It was sure cold here, but we made the most of it. At least if it was as cold as it was, it was bright and sunny. I’m feeling for all of you up north having to deal with some of the coldest temps you’ve had in a long time.
Enjoying Wheeler’s Valentine’s party on Friday!
What I Wore
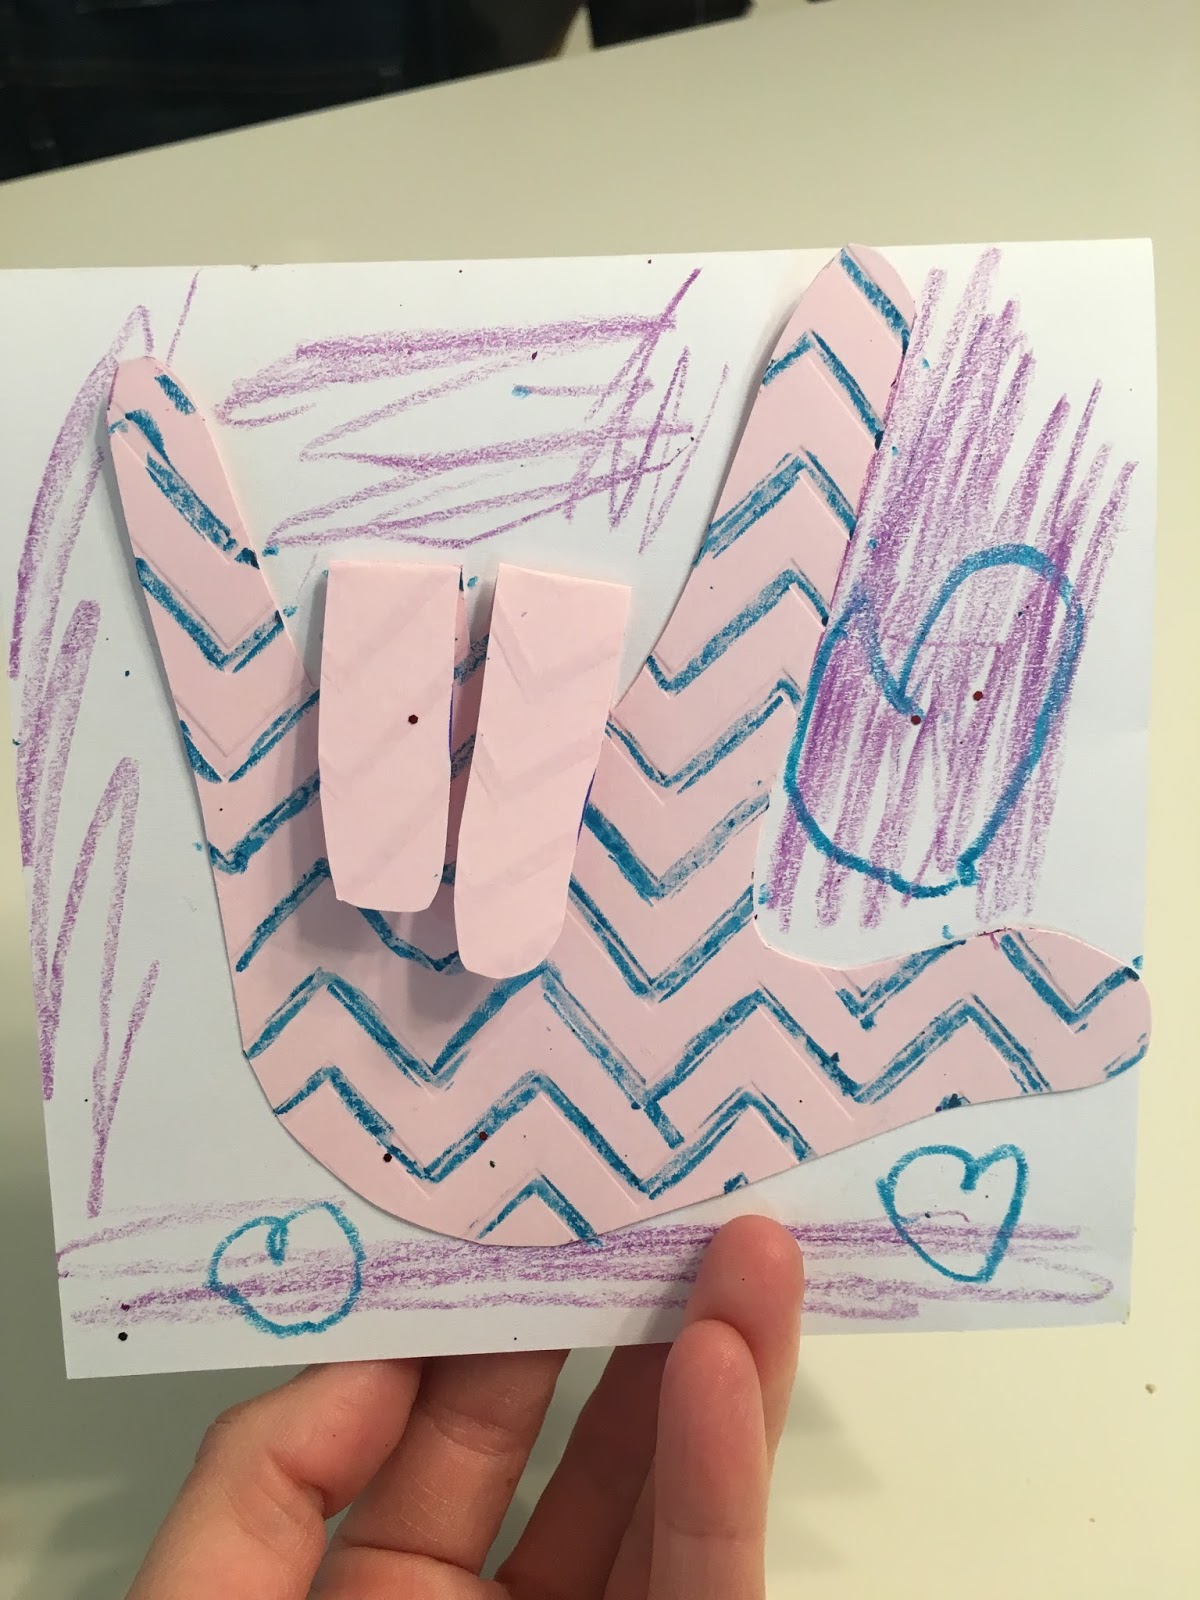
So creative!
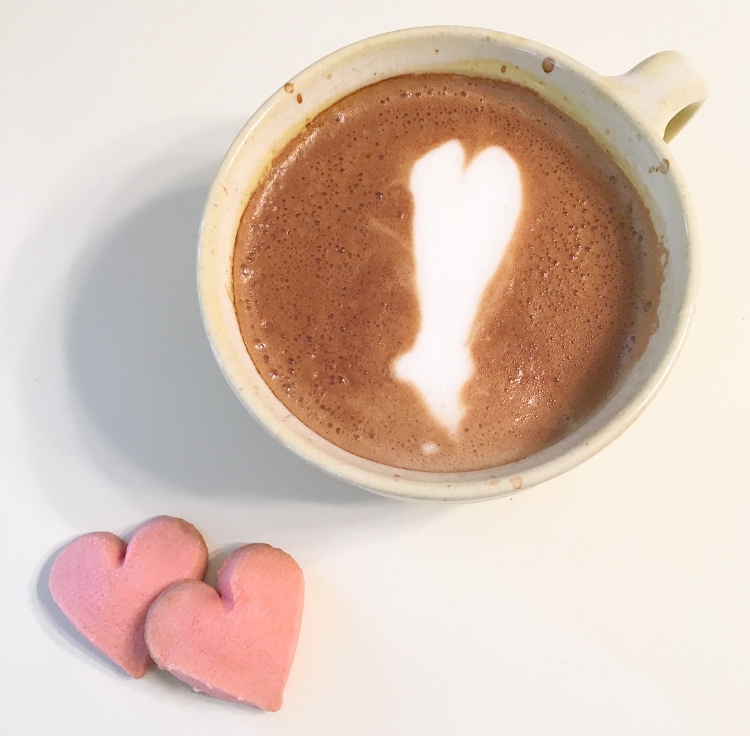
Effie wore her new tee to a birthday party and loved telling people what it said, now that she’s learning how to read (on sale here; love this one too). She and Wheeler both painted these love robots for me at an art class last week. And notice my coffee. Lanier’s getting pretty good at his foam art.
Festive in our pinks and reds for church! I’ve had my dress a few months now, but I did manage to find it here in a few sizes and my cardigan here.
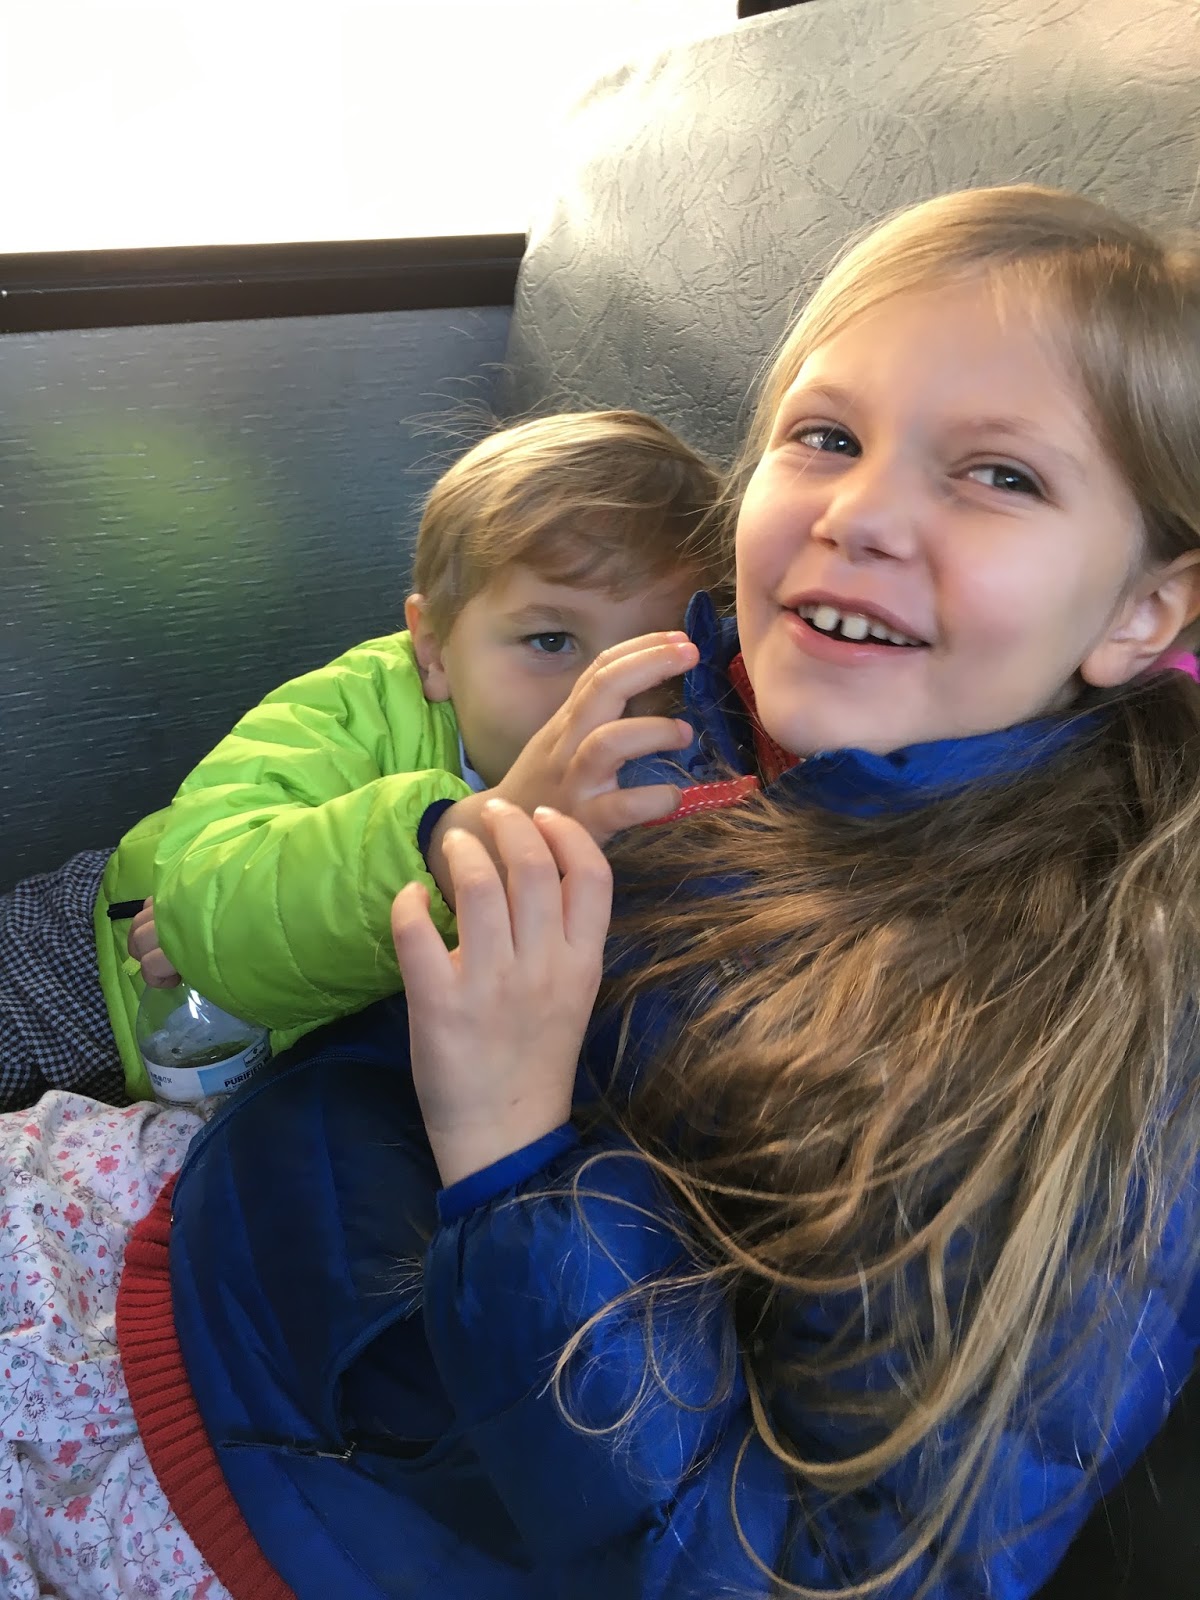

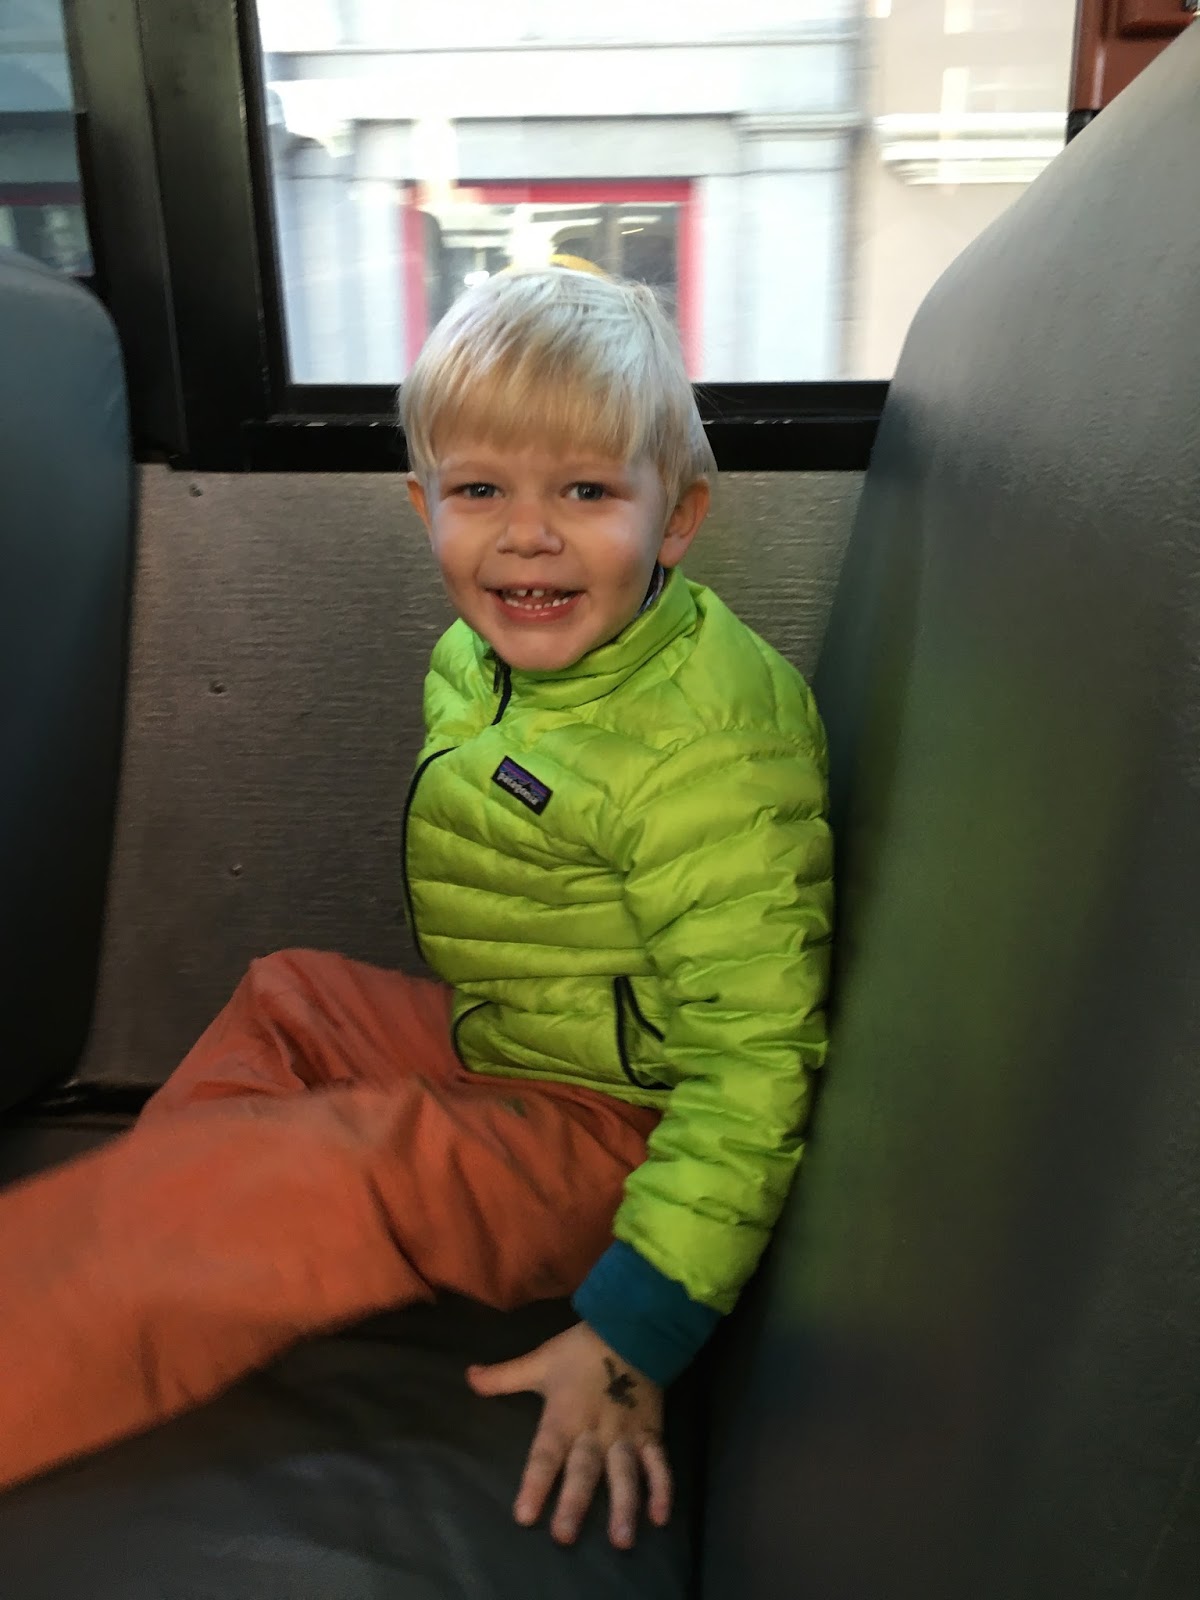
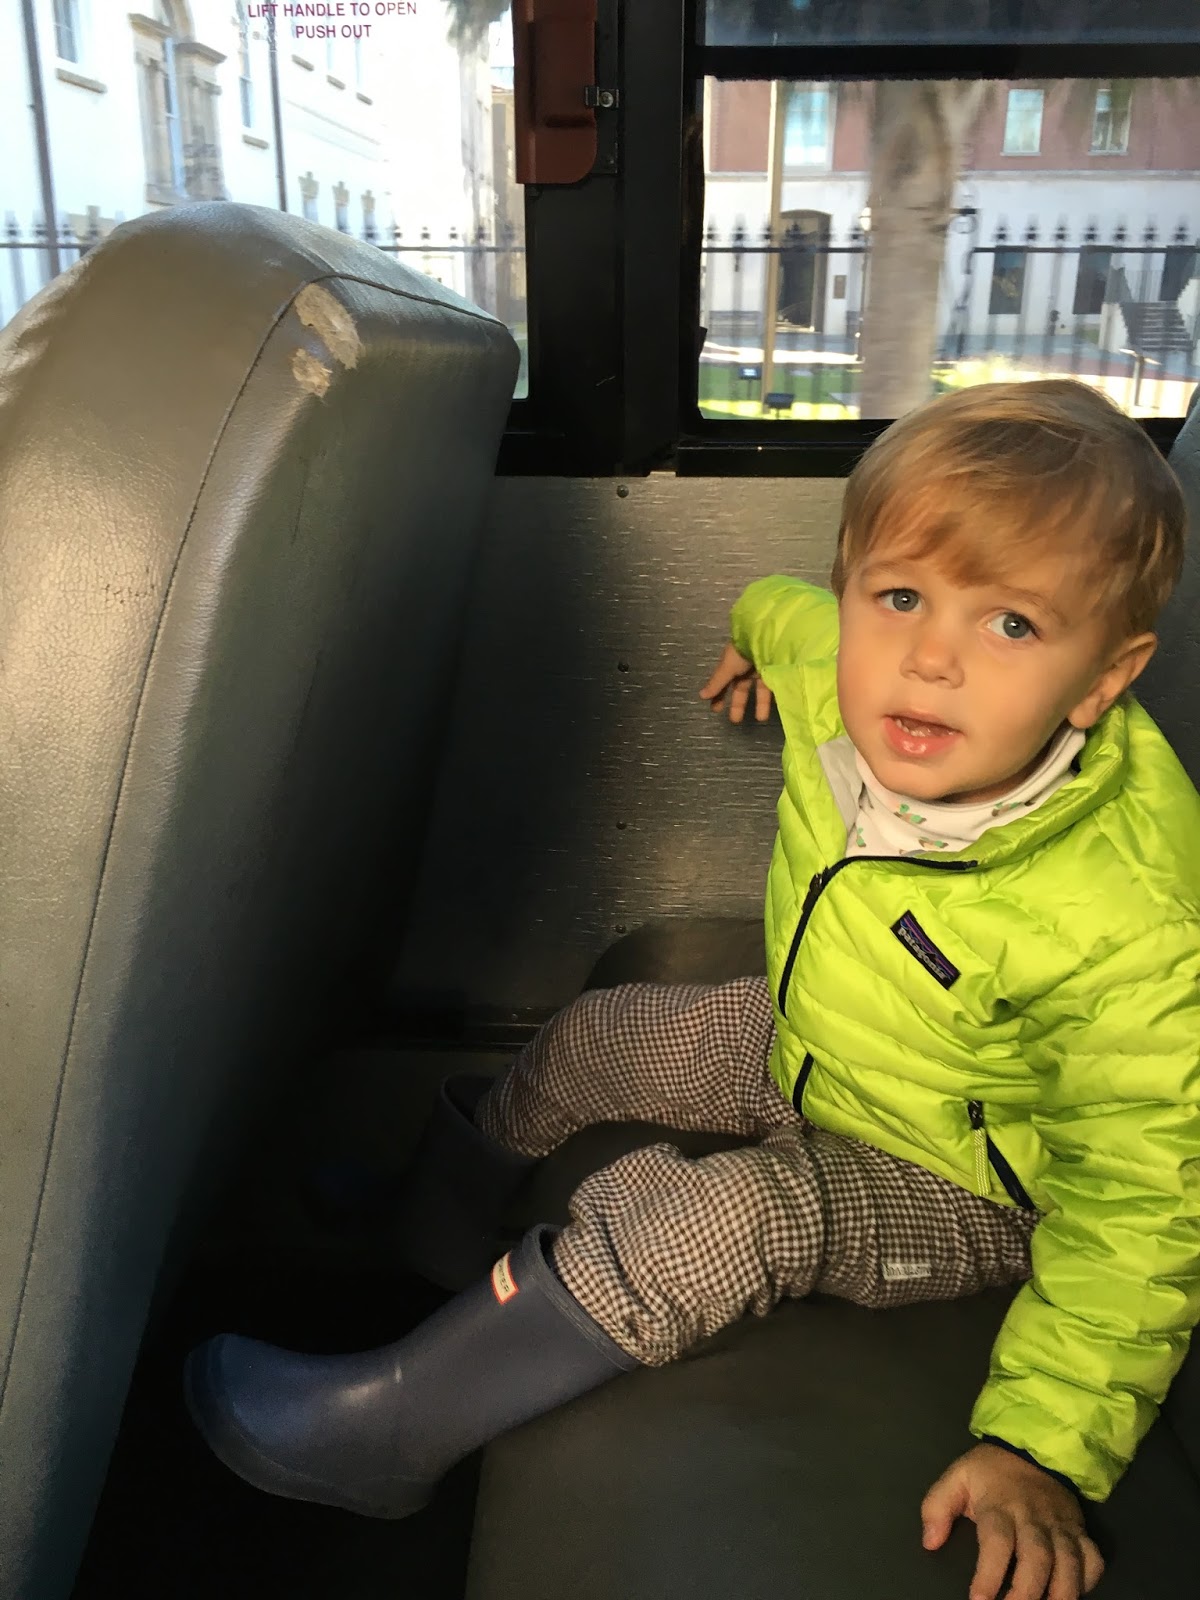
On Saturday, we visited two different spots at SEWE in town. To get from one point to the other, we took a shuttle (aka a school bus). The kids had the best time, it was Effie, Logan and Vaughn’s first time riding on a bus and they were so excited. Wheeler’s ridden one once or twice, but she still loved it too. It’s the little things, right? Can’t wait to share more pics with you on this week’s Wednesday Whereabouts.
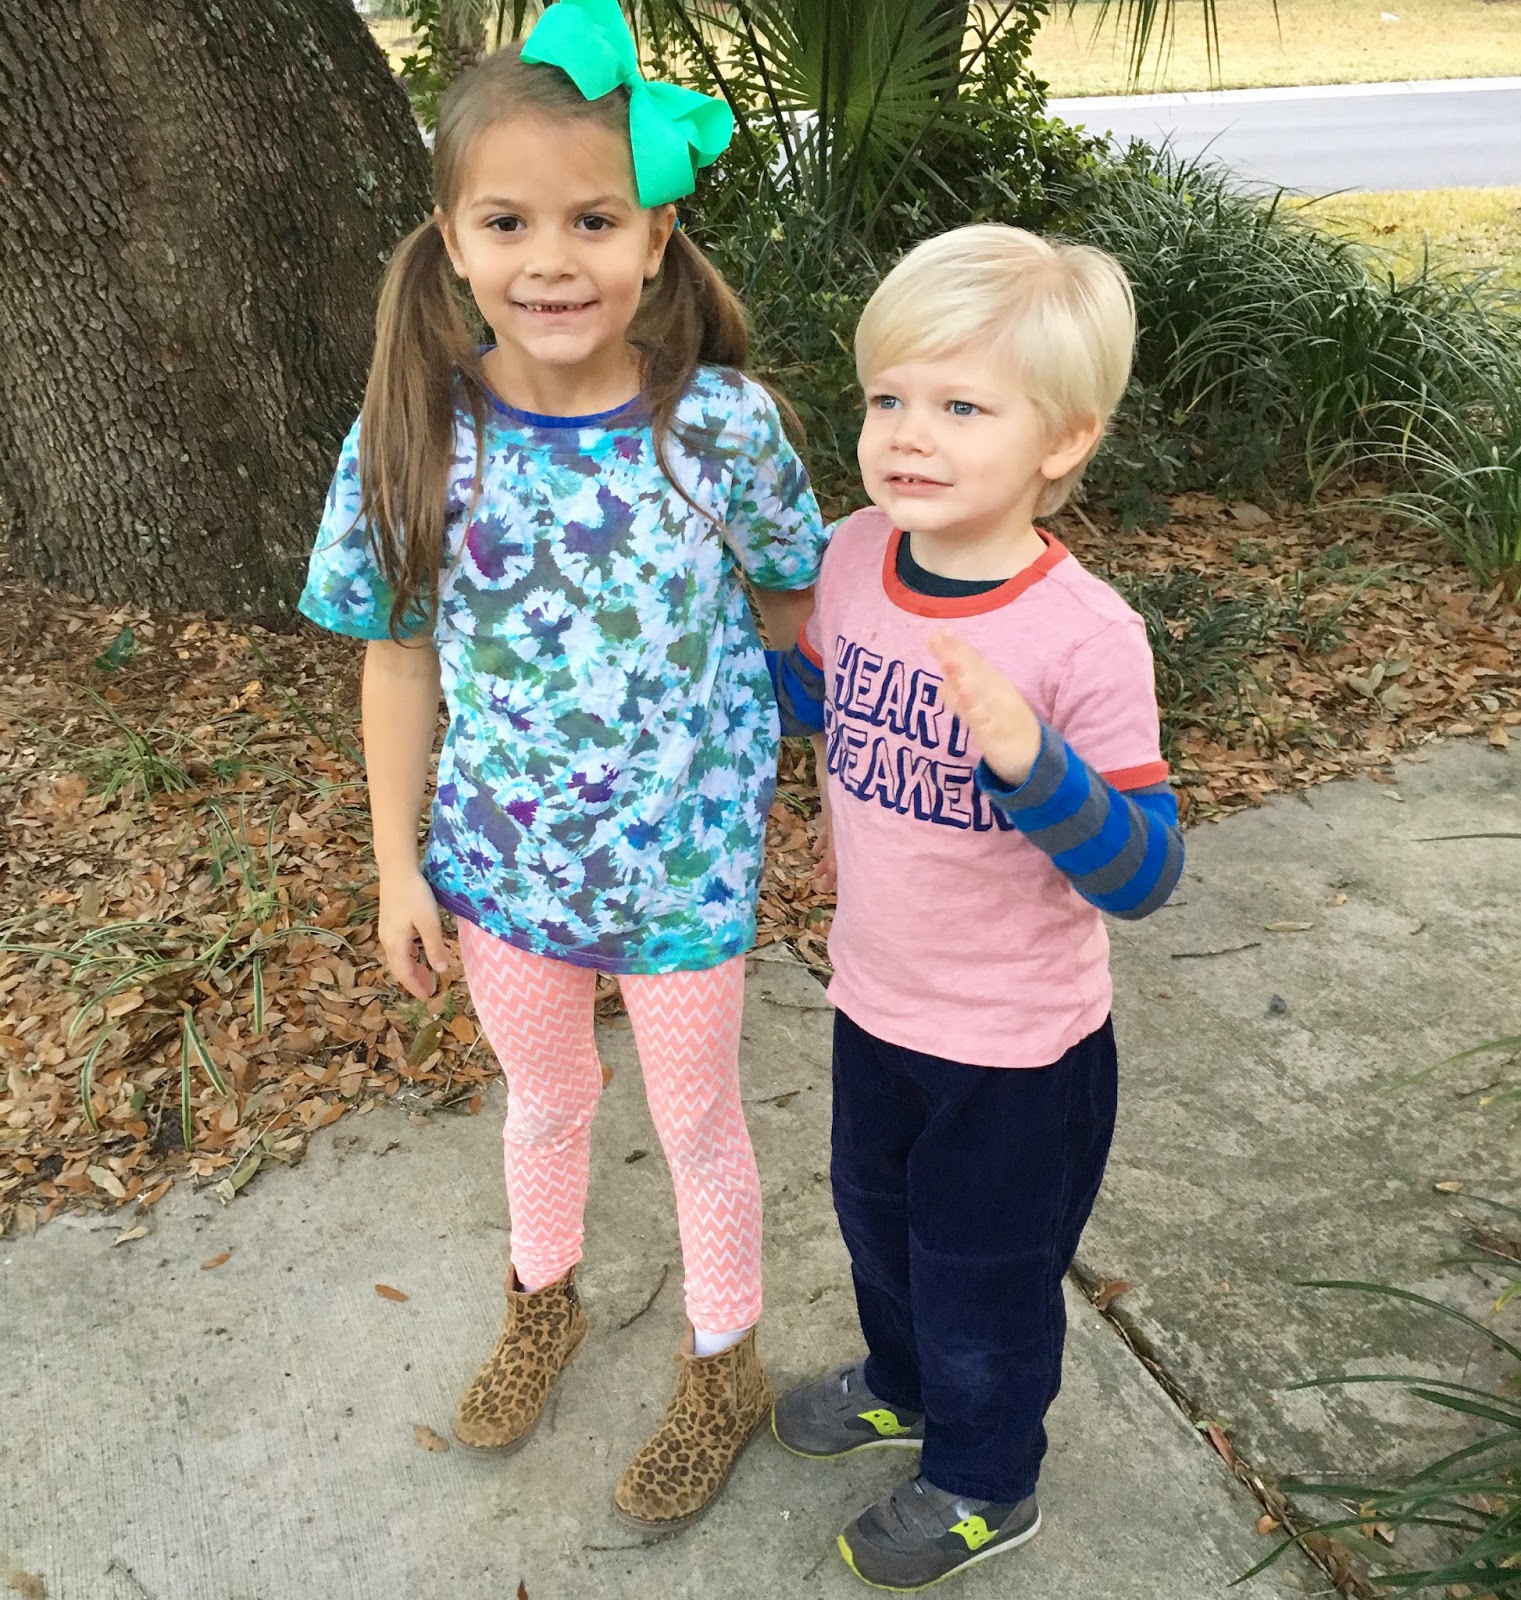
My Little Heartbreaker
So I’m generally not one to have candy laying around our house, or give candy as treats or rewards. But over the weekend, in the spirit of Valentine’s Day, I let them open all their Valentine’s cards from friends and eat candy, cake and cookies yesterday at a party. The kids loved it all and the girls and Vaughn were smart enough to stop themselves when they’d had too much.
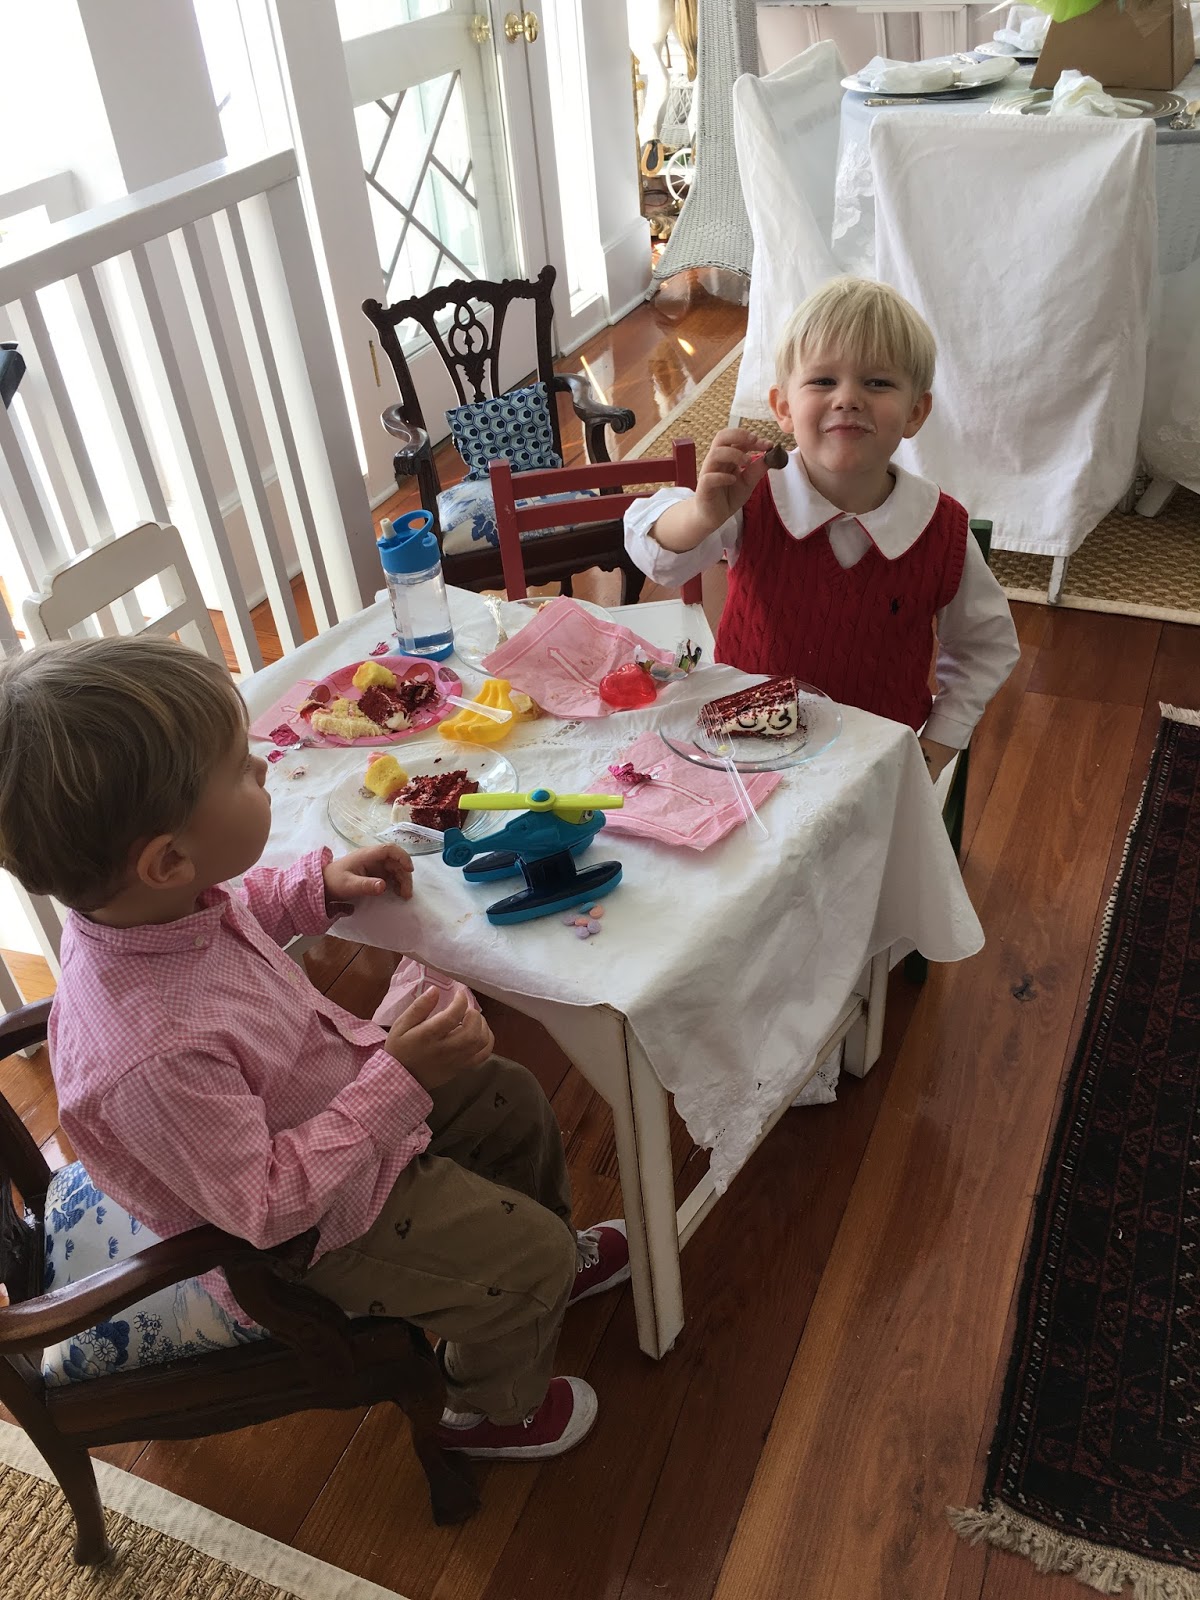
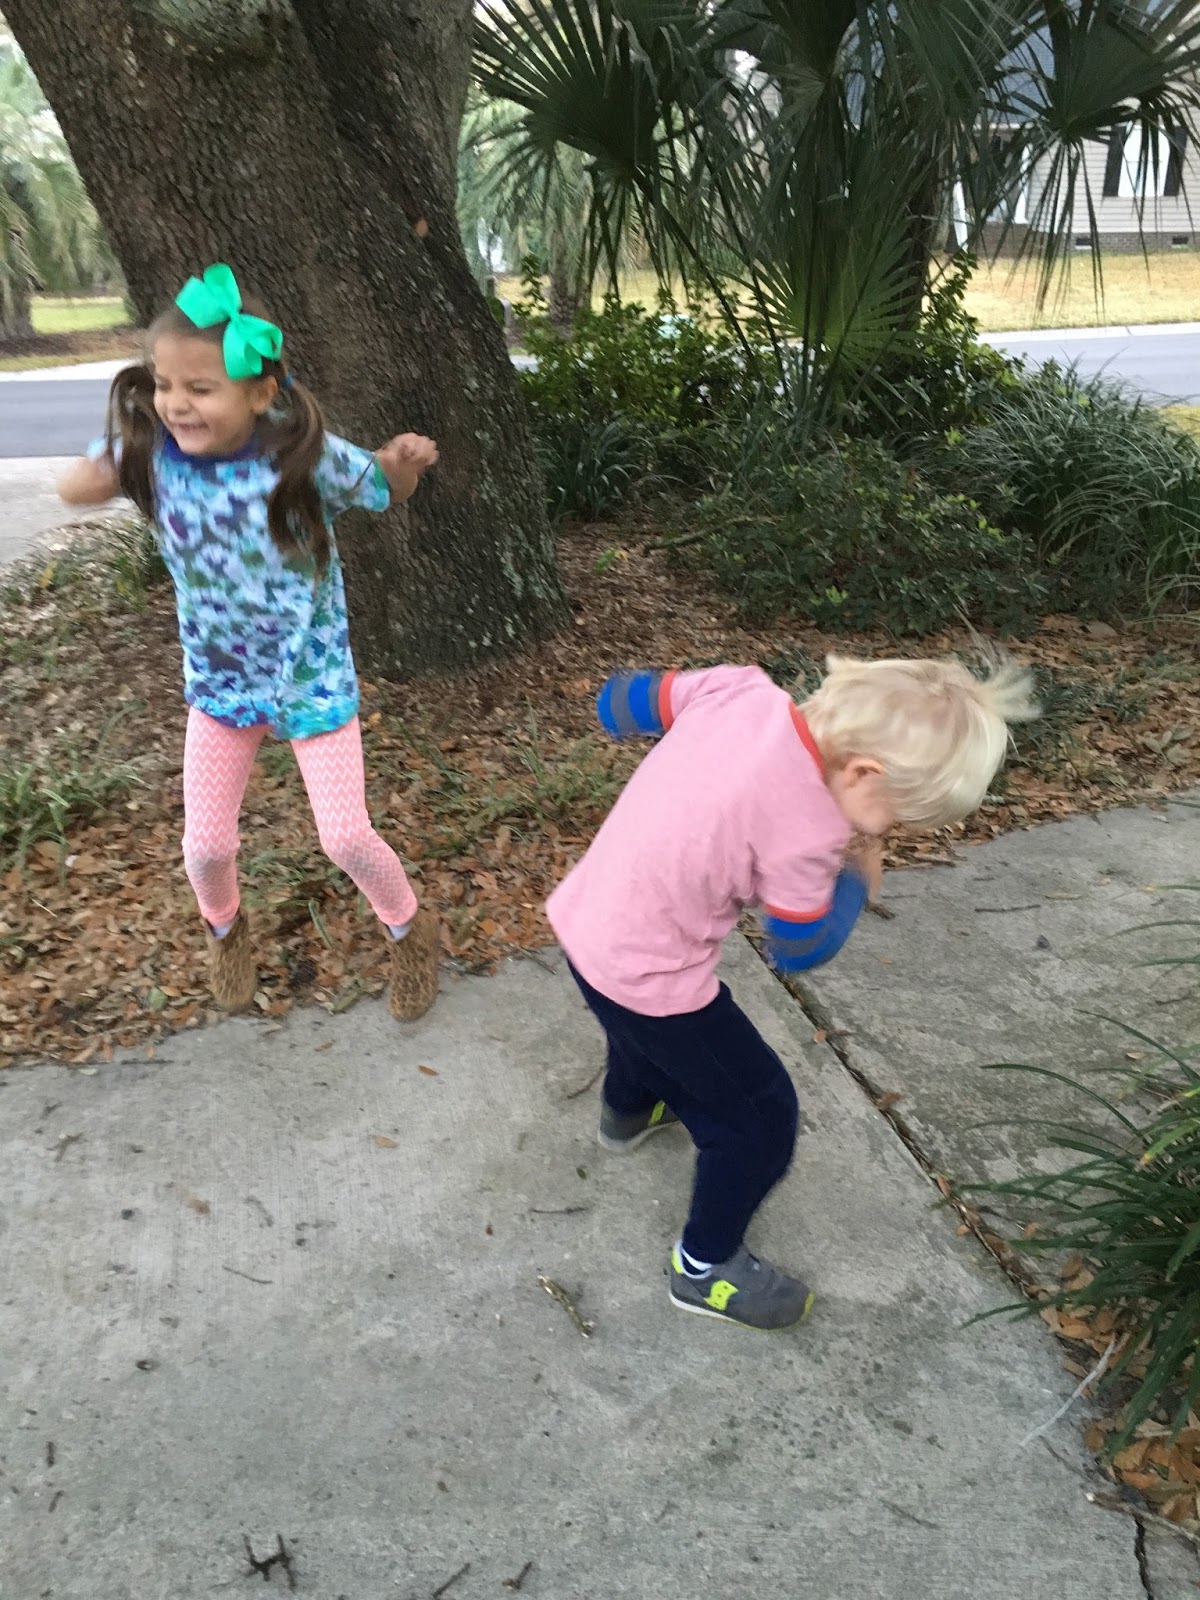
Logan, on the other hand, indulged to his little heart’s content. While he didn’t have enough sugar to keep him from taking a nap yesterday, it did finally catch up to him by early evening, when he threw up not once, but twice. I was honestly fearful that he’d picked up the stomach bug. But in fact, it was just his sugar overload. After a nice bath and eating dinner, he slept through the night and was totally fine. I never made this out to be a lesson learned kind of thing, but I think now he knows that when I say one treat is enough, he’ll completely understand.
It’s supposed to rain here for the next two days. Since the children are out of school today, I figured it would be a great time to do some more tie-dying. The kids have been asking me to make theirs, after I made Effie’s a few weeks ago for her 100th Day of School activity. They had to wear something with 100 items on it. Effie wanted to wear something tie-dyed, so I decided to attempt 100 tie dye rings. Some of you requested that I share how I did it. It was actually super simple, just very time consuming.
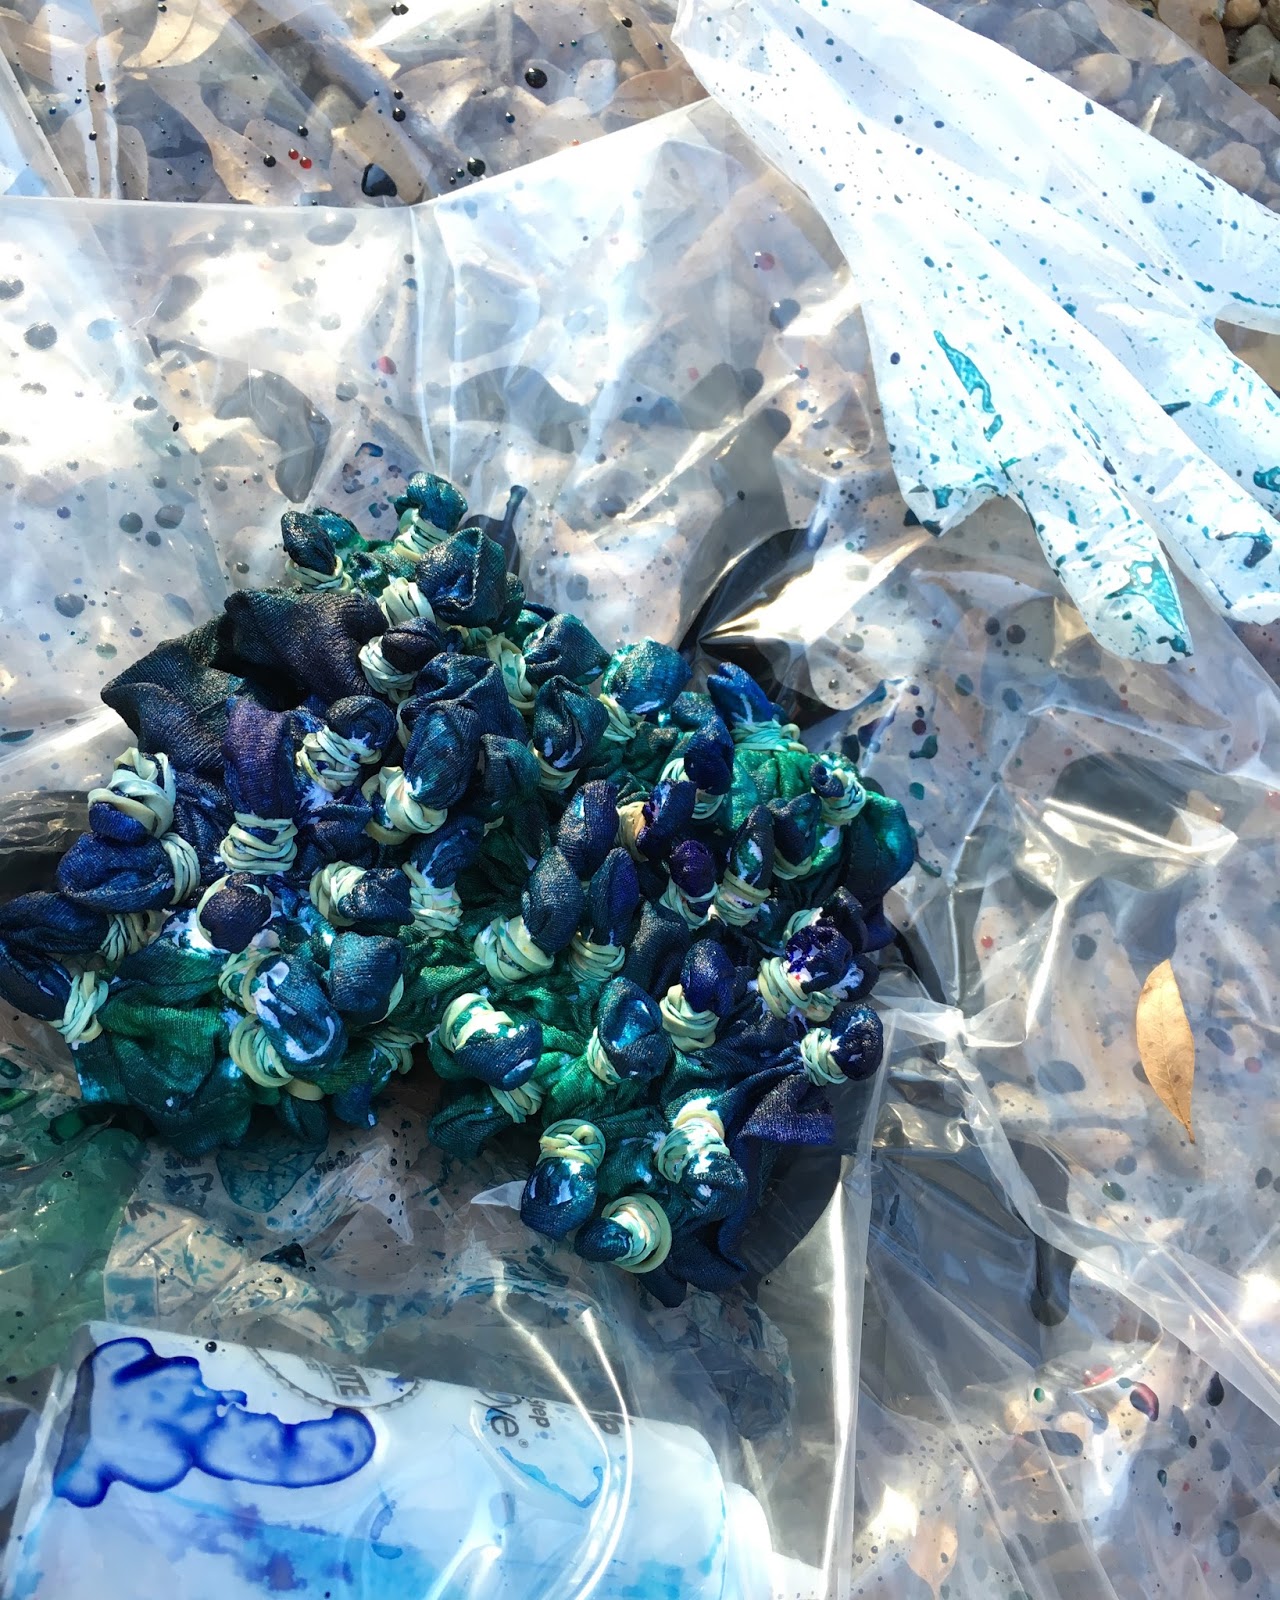
How I Created It
I took a plain white shirt, and tied rubber bands all over it. I honestly don’t think I could’ve fit anymore than I did on it. To ensure there were 100 rings, I added rubber bands to both the back and the front. When I went to dye it, I stuffed a few plastic bags inside, so the colors wouldn’t run from one side of the shirt to the other. It actually ended up falling out midway through the tie dye process, so I’m not sure how well the plastic bags helped. I let Effie choose the colors and she chose pink, blue and green. After we applied the pink first, the darker colors that followed ended up covering most of her pink, but she didn’t seem to mind it. Wheeler told her it looked like earth colors, and she was content.
After tie-dying it, you must cover it in plastic and let it sit for at least 8 hours. You can let it sit for longer, for brighter colors, but as we did this the day before it was due, 8 hours was plenty of time. I’m such a procrastinator. The key thing to remember here is you must keep the shirt moist, some people even soak their shirts in water before they apply their tie dye colors. The purpose is to let all the colors seep into the fabric and pores of the shirt as best it can. Some people assume you’re waiting for it to dry and have even attempted to dry it faster with a hair dryer. Don’t do that.
In the middle of the night, I woke up at the 8-hour mark, rinsed the shirt under the sink to get rid of any extra color that was still present (the rubber bands were still in tact when I rinsed it). Then I took off each one of the 100 rubber bands.

I was so nervous at this point that I wouldn’t see the tie-dye rings, but it worked! I then tossed it in the washing machine with a little detergent and then the dryer. I’m hoping that today, we can think of some quicker tie-dye ideas for today’s shirts.
Oh yeah, and don’t forget plastic gloves! They’re essential. Otherwise you’ll end up with dyed hands that’ll last at least a week!

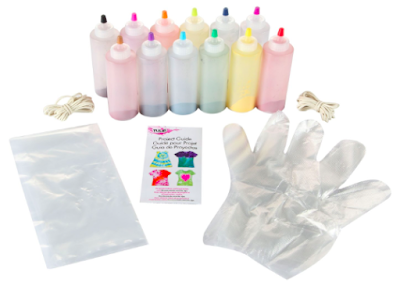
As for what tie-dye we used. We actually used a kit the girls got for Christmas. Some people do the typical RID colors and all of that, but honestly this kit is so easy and her shirt turned out so well. It doesn’t come with shirts, so we ordered them here.
Off to tie dye, and maybe a movie later. If you’re wanting to shop, lots of President’s Day Sales are going on. Shared many of them on Saturday’s post.

Sharing more of my Nordstrom’s Clearance Sale Faves below…

Shoes
Hope y’all have a great start to your week!


Looks like a fun weekend! Love your festive church outfits, and those kid-sized formal chairs are too cute!
Thanks! Aren't they?